Step 01 - Creating a basemesh
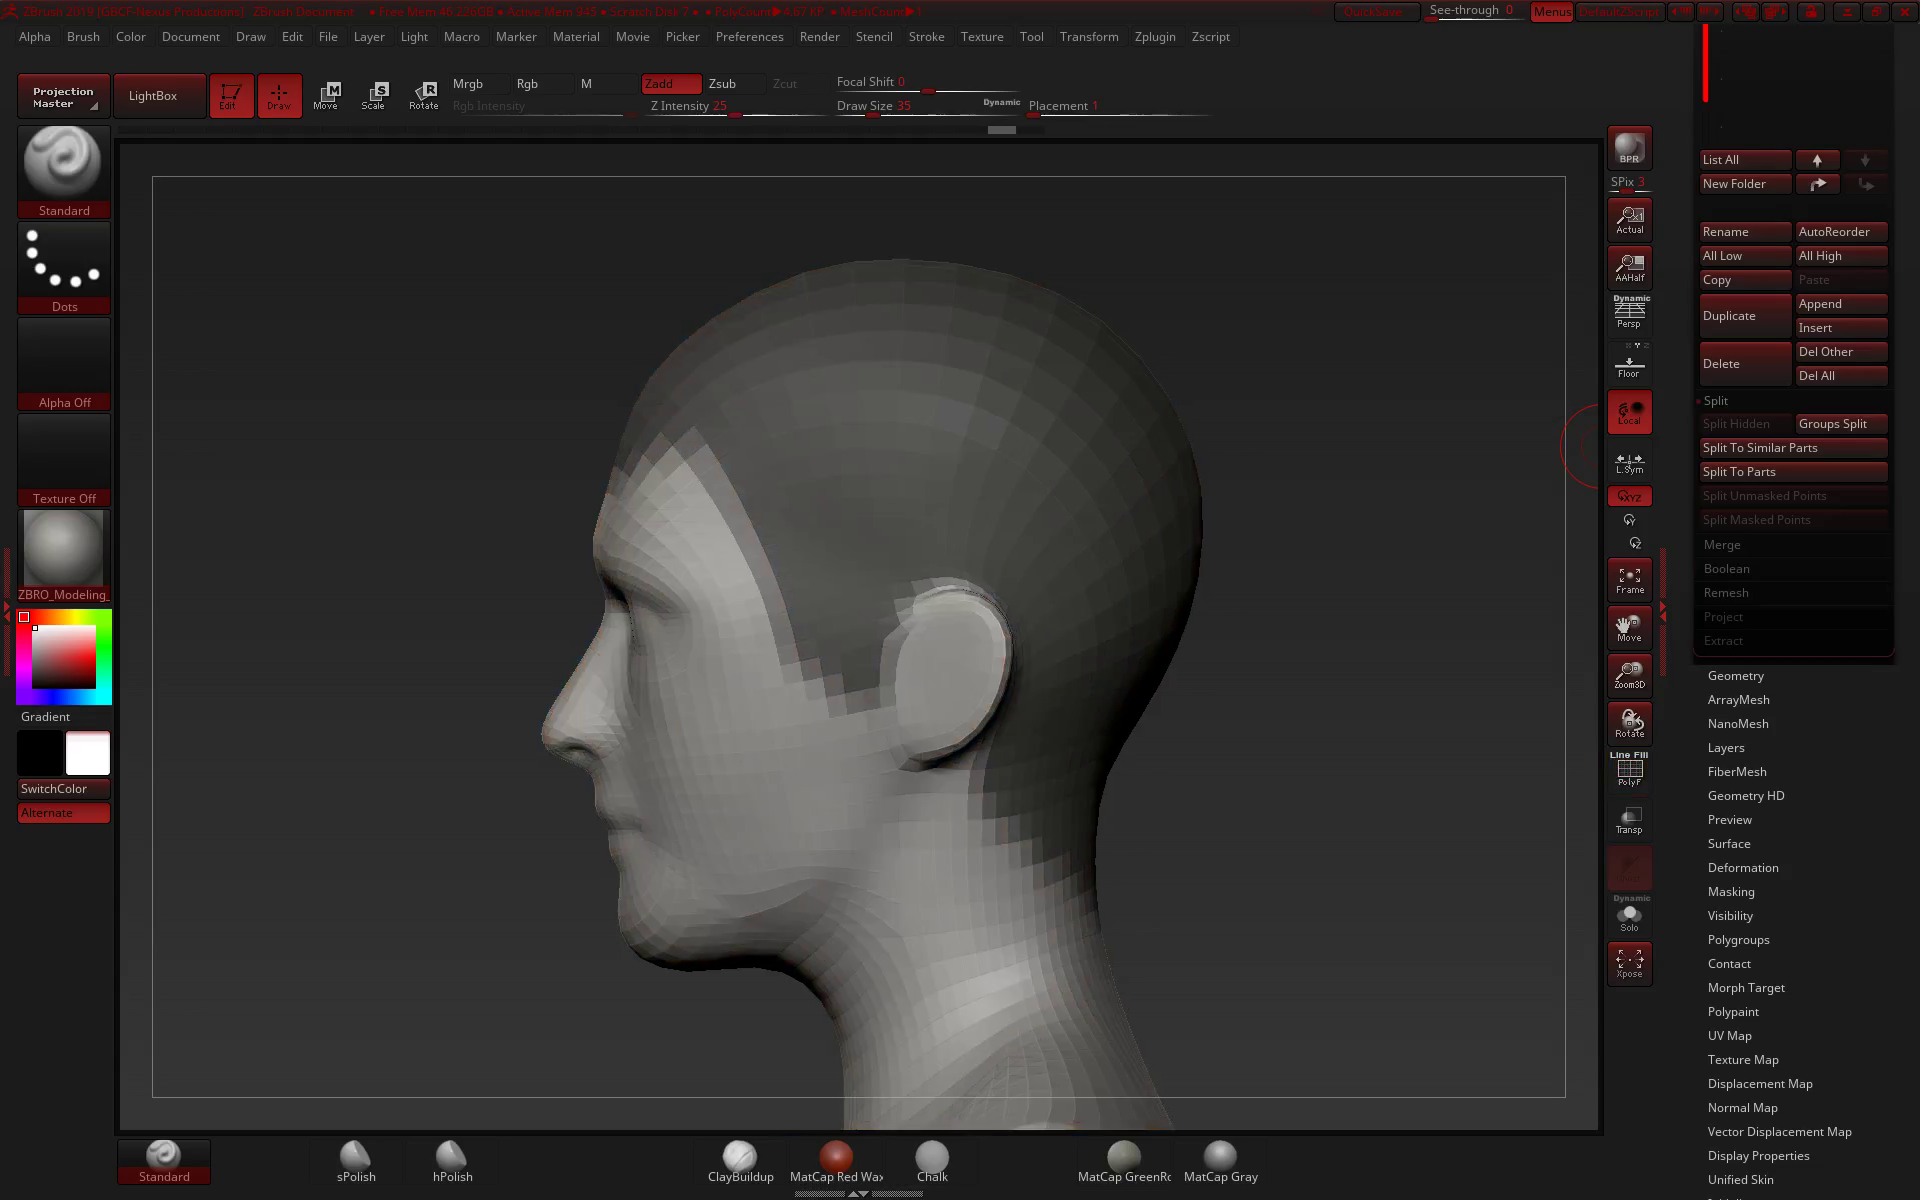
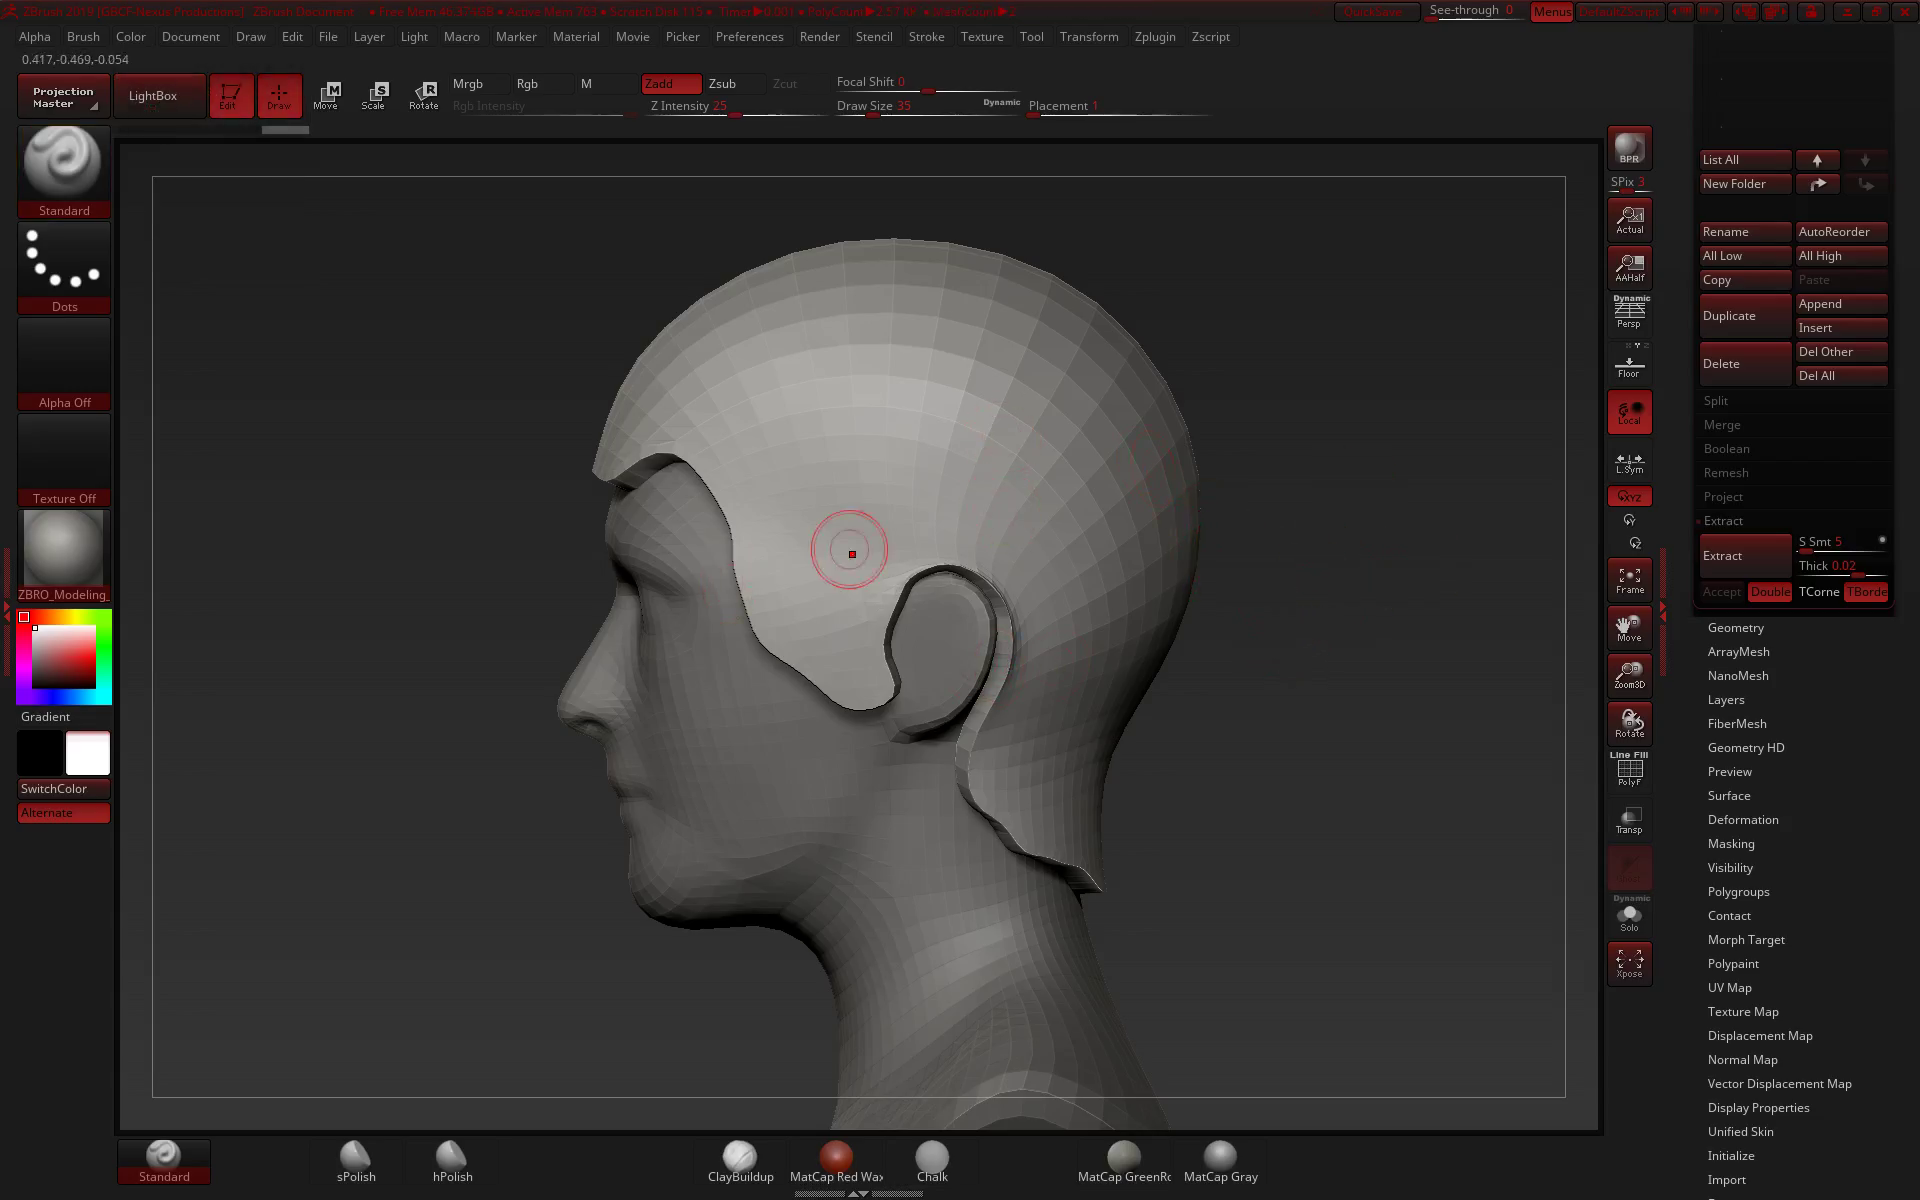
The first step will be to create some mockup geo, based on the shape the design gives us.
I’ll usually extract some scalp shaped geometry from the bust we were given to have a good base from where the hair is supposed to be generated from.
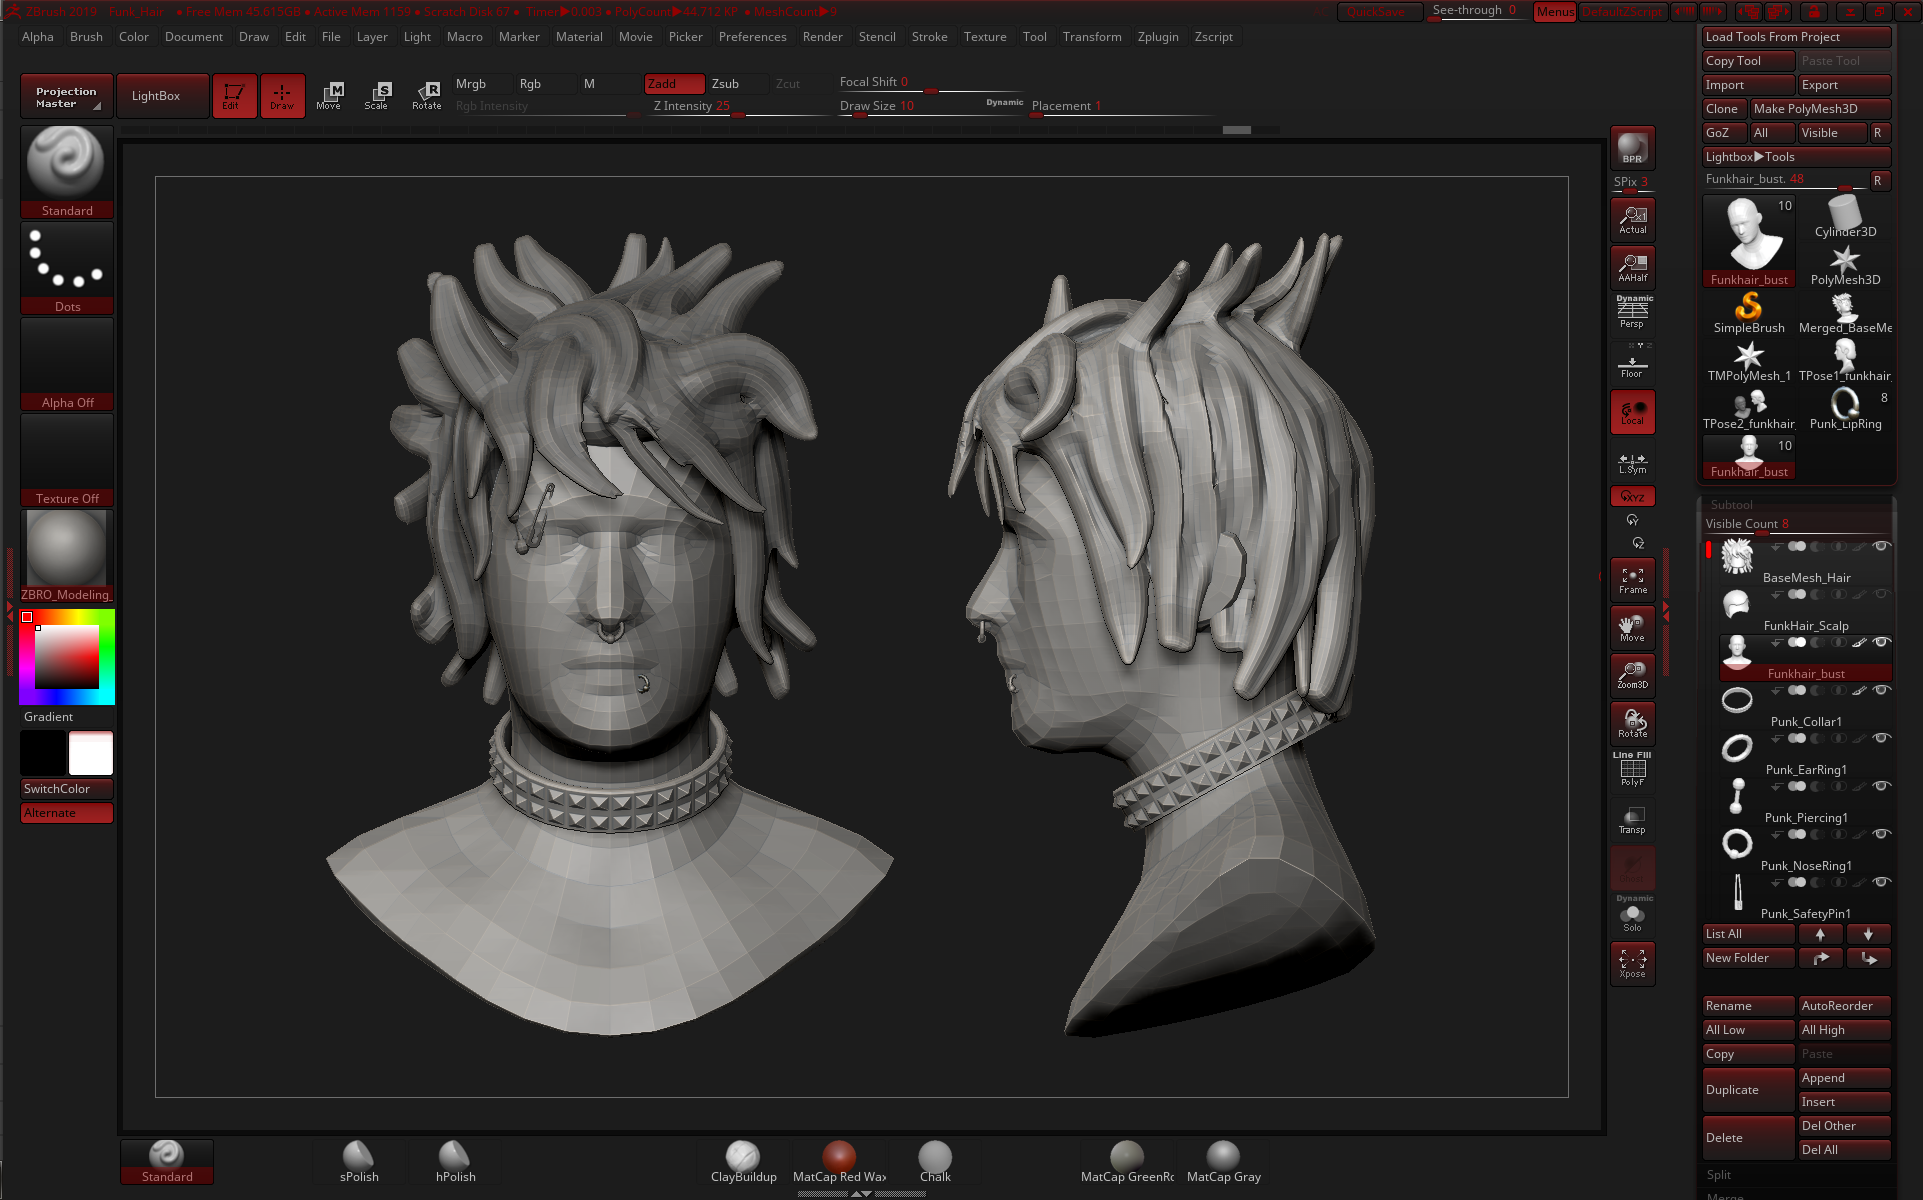

On MicDrop [Facebook], short hair like the Punk or Boy Band model, I'll use the scalp to generate hair and the mesh to generate guide; wig-type of hair, I’ll use the sculpted geometry to be the surface generating hair.
UV your mesh automatically with ZBrush, or with Maya, as the Maya paint tools or xGen will need UV coordinates to generate guides/hair.
Step 02 - Drawing guides/card system
The guides techniques:
Make hair cards from xGen:
Step 03 - Getting started with xGen
Before anything: In Maya, go in File > Project > Set project..
xGen is really, really temperamental with project locations and folder hierarchy. You could get an error later because you haven’t set up the project properly, because you started with an older or busy file, you have a space instead of an underscore in your Windows arborescence… et caetera.. so make sure you set your project in a secure folder, that you won’t move during the grooming, and that there aren’t naming inconsistencies/weaknesses in your file location.
Also, before opening xGen, three things:
- • Delete history on your scalp / hair generating mesh.
- • Make sure your Geo has UV coordinates, again.
- • Attribute it a Lambert. You’ll need it to paint maps and xGen will hat non-Maya materials.
To start with the hair.. Now you have your guides from the geo, or your geometry to emit hair from.
Take your scalp (or the surface you want to emit hair from) and open the xGen tab.

Create a new Description.
Input your name for the
description, and then for the collection.
There are two ways to do it:
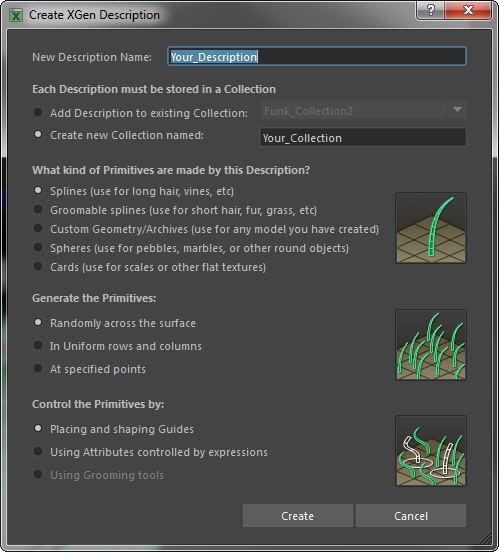
Splines + guides
The first way is if you have a scalp and guides.
Pick Splines, and Placing and shaping guides after.
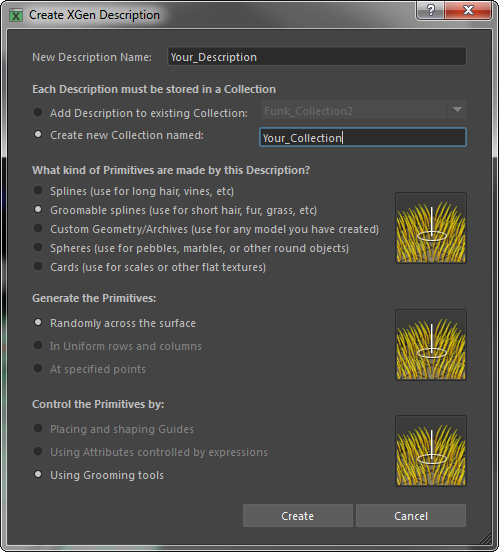
Groomable splines
The second way is only if you have a geo you want to generate your hair from.
You’ll pick Groomable Splines, Using Grooming tools.
The first one is important if you have drawn your guides before, the second one being more up to how much time you’ll have for grooming. The idea here is for you to have a base to work on as quickly as possible, rather than starting with hedgehog hair and then grooming then all the way to the final look.
Method 1 [Splines + Guides]:
See Step 02.
Method 2 [Groomable splines]:
Style your hair, using the grooming tools, Clumping / Coil /
Noise etc..
Step 04 - Exporting your Geo
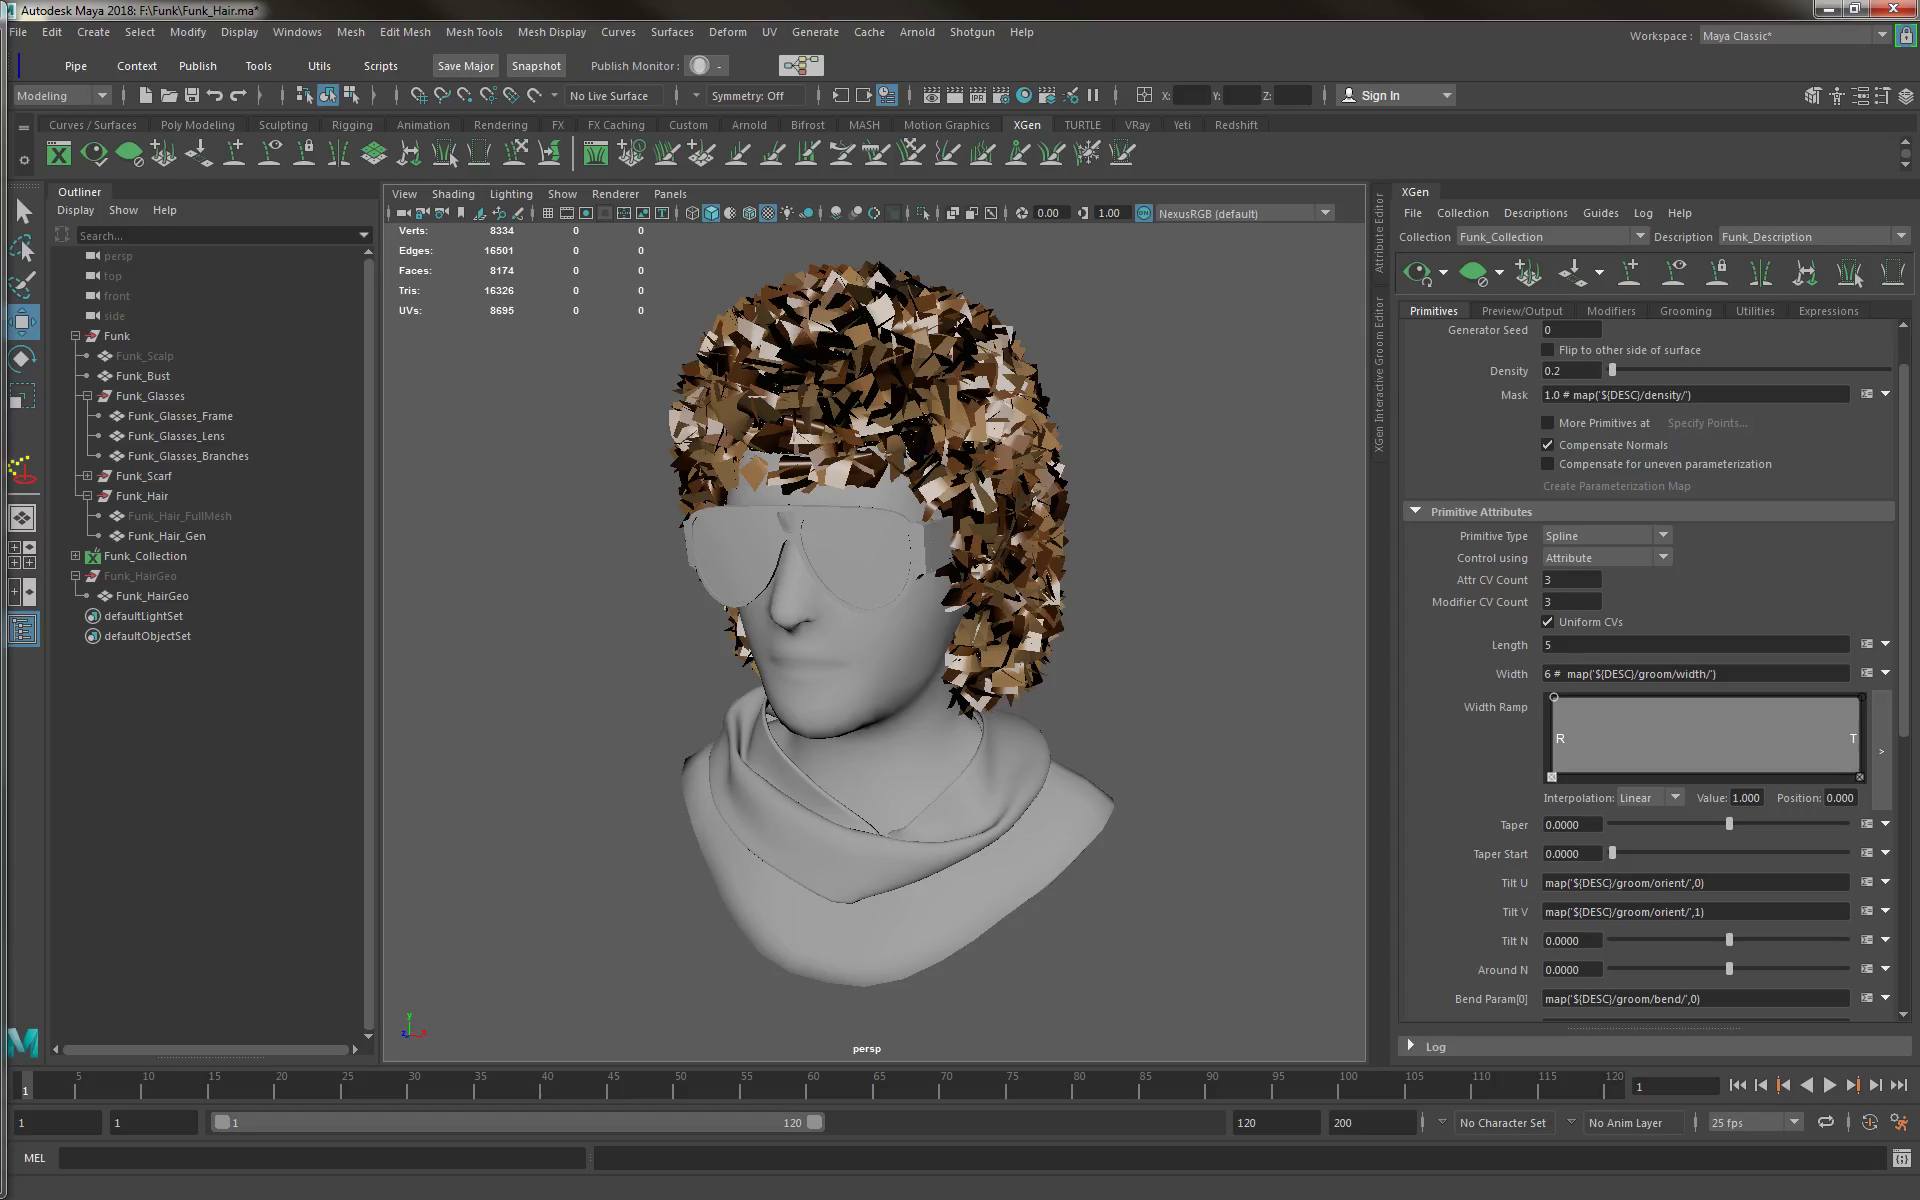
You should have your groom in a good shape by now. Now it’s time to turn it into hair cards.
Reduce the amount of polygons. Realtime doesn’t need as much as pure CG hair. Here it’s a density of 0.2, but you can go lower/higher depending on your hair cut.
The Modifier CV Count is also important, it’ll change how many length segments you’ll get. Longer hair will need more, shorter hair will need less. For some reason, xGen doesn’t want to go lower than 3, so that’ll be the minimum.
Width wise, you’ll need to go large to be able to fill it with your textures and leave less holes in the final look. Here it’s a 6, but you can go lower/higher depending on your hair cut.
[Expressions are xGen bread, so things like: 6 # map(‘${DESC}/groom/width/’) will be used to say: I want 6 times the default width, using my map to drive it.
A good idea is to paint a map to get less hair on the back of the head and more on the front if you have a polygon budget and the model is often facing the camera.]
Same with density, lenght, etc.
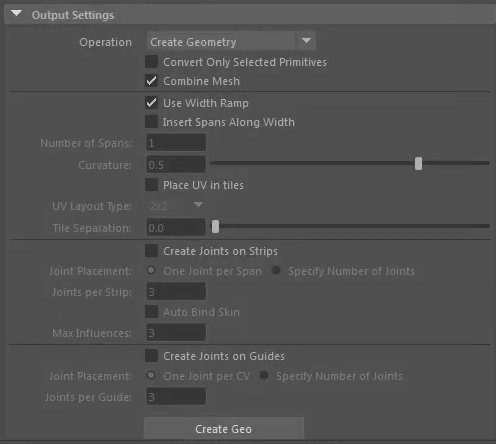
OUTPUT settings:
You’ll want to Create Geometry, that’s the purpose of all we’ve done so far.
Combine Mesh will avoid xGen creating thousands of individual strips all in the explorer. Quite heavy.
Use Width Ramp if you made them pointy in their card look [Primitive tab].
You can uncheck Place UV in tiles. Basically it will group the hair in 4 random groups if you pick 2x2, and lay them out as 4 groups in one UV tile upon export. Uncheck if you want all of them stacked together. Keep if you want to have already 4 random UV groups from the start.

Uncheck Create Joint on Strips. It can be good for some quick rigging, but remember it will create ONE 3 joints articulation for EACH hair. You might want to dial the density lower before clicking that to automatically create a rig..
You could although Create Joints on Guides, if you haven’t painted too much of them.
Step 05 - Editing the UV placement
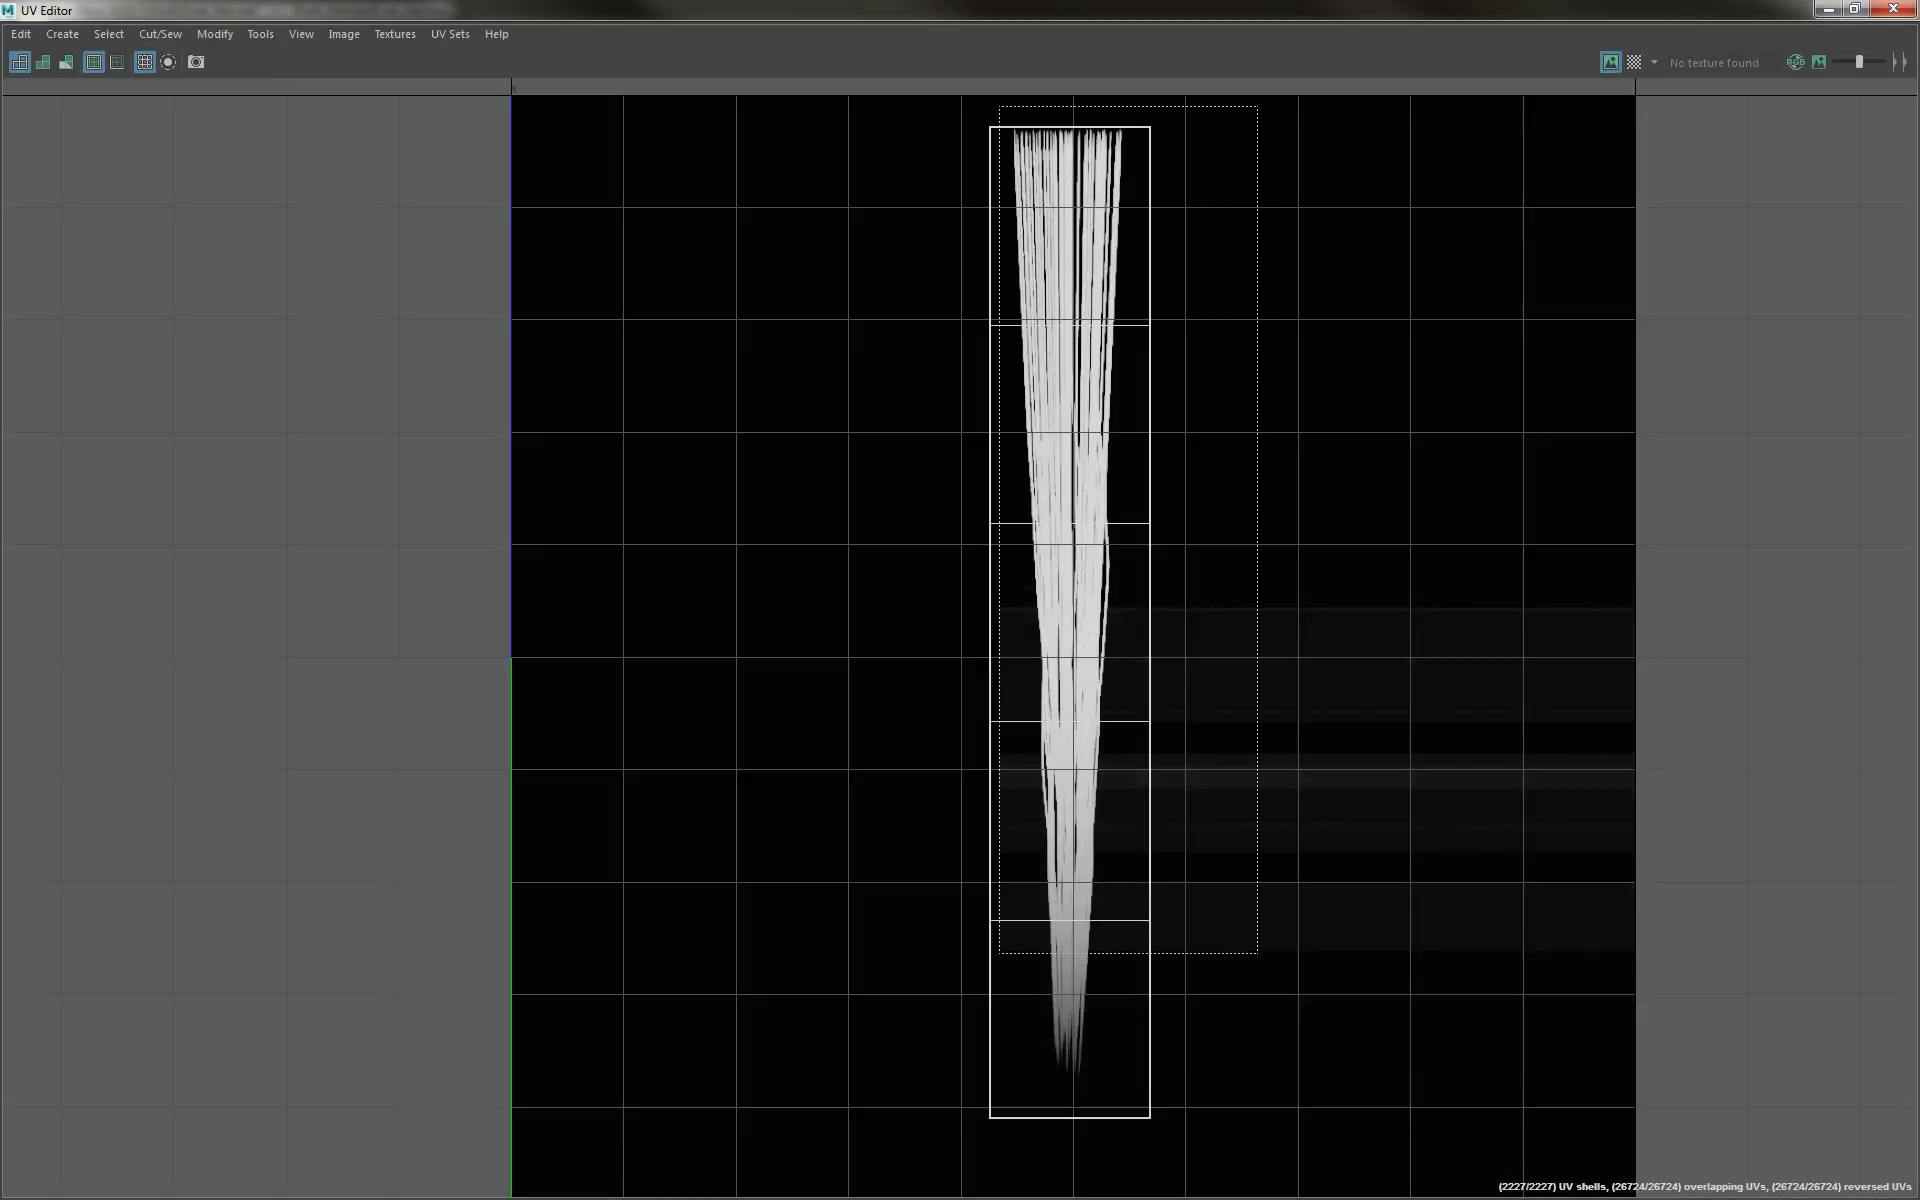
Open the UV Editor, scale your UV to match one or many of your hair textures, and you’ll get a more faithful texture rendition. It'll help you see in Maya how your texture displays quite fast.
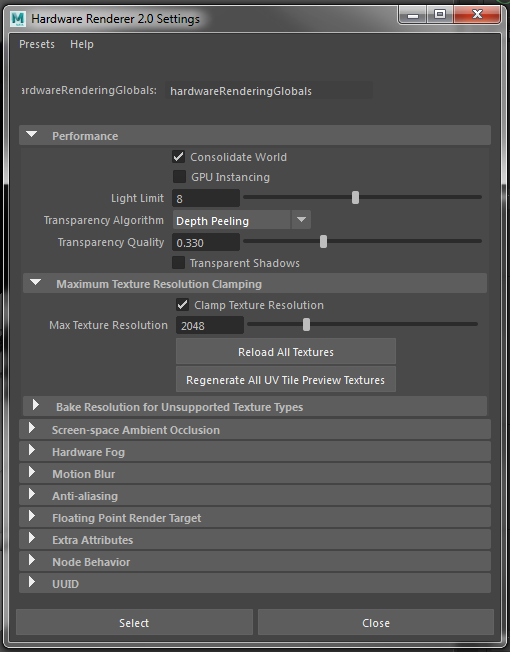
All your transparency might display at once, making back hair show and making the look for the top quite confusing, it’s because it will apply all the transparency as if your mesh was one object. Go in the Viewport 2.0 settings and change the Transparency Algorithm from Object Sorting to Depth Peeling.
Step 06 - Texturing
We’ve used Hair Strand Designer on the project. Many people will have their own techniques, such as rendering strands of hair before, using online textures, painting their own. This one is the best way to shift quickly through hair settings without having to repaint every single time.
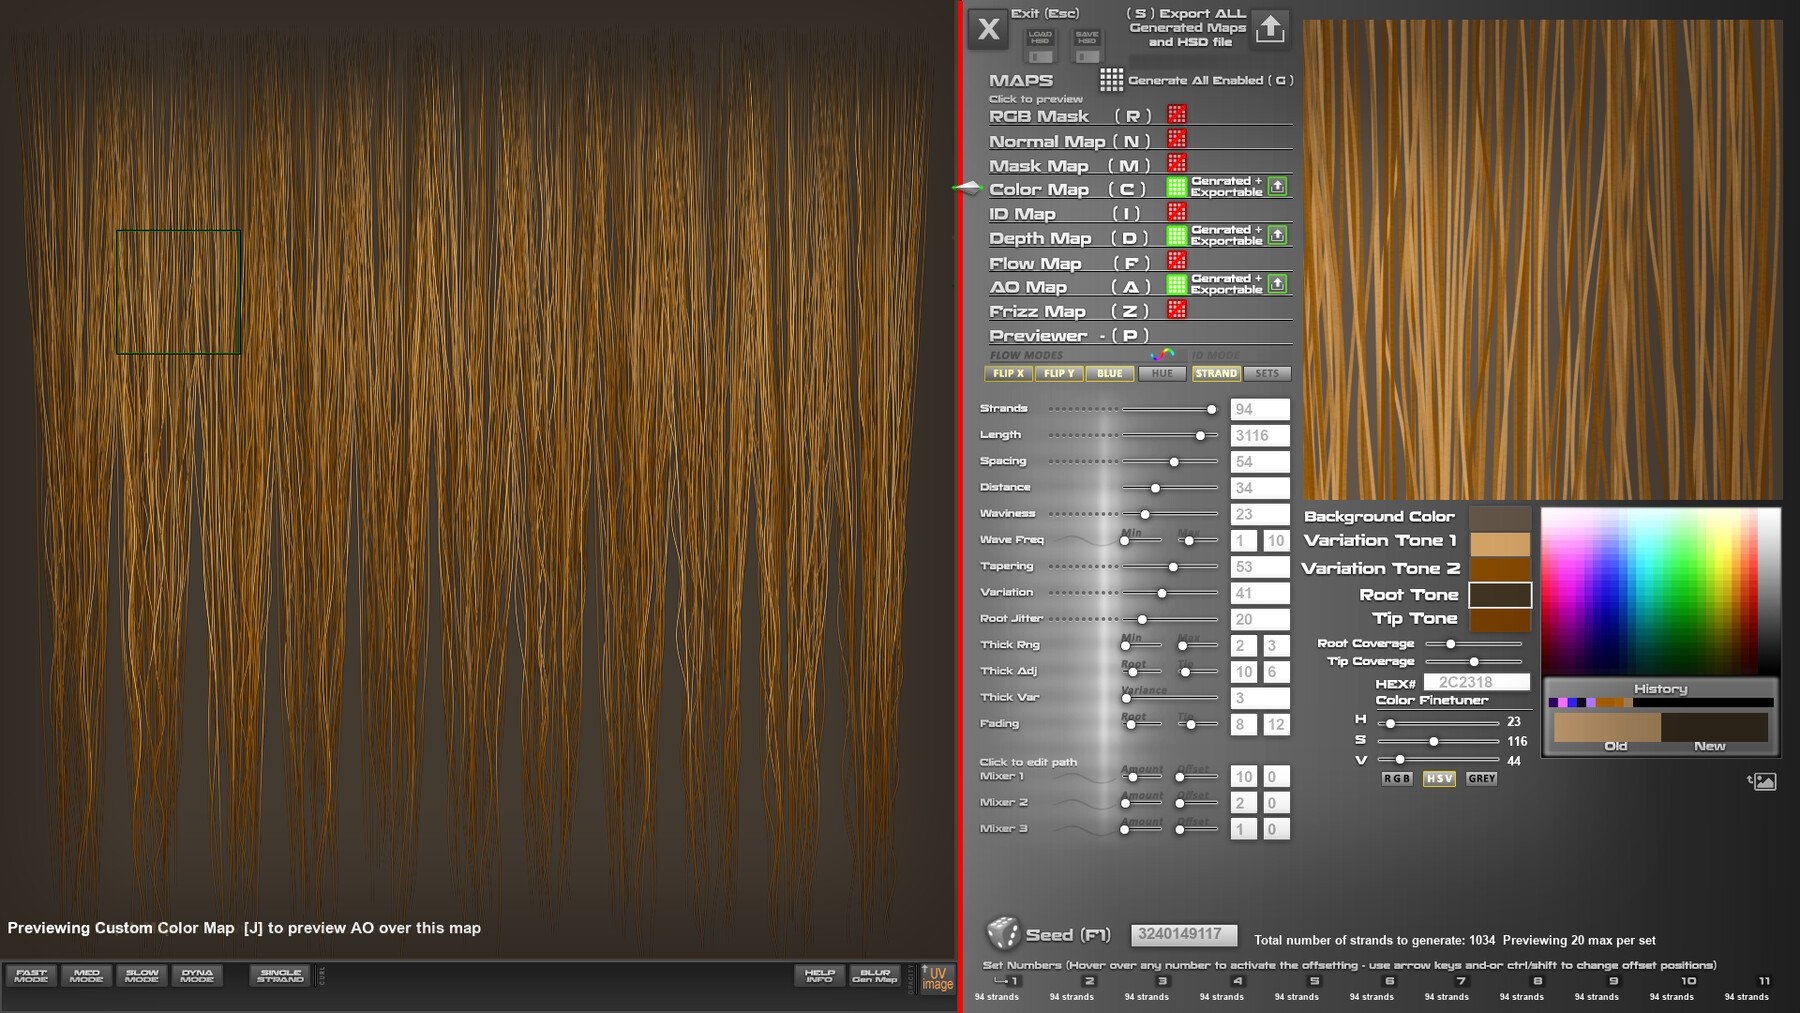
[Quick note: the software makes the strands from top to bottom, but xGen will make your UVs from bottom to top, you might want to 180 rotate them.]
Step 07 - Unity integration
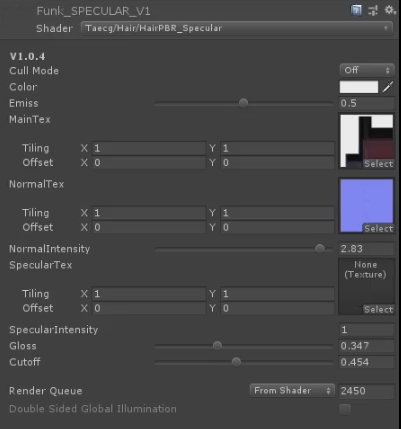
For Unity, and the shader we’ve used [Taecg Hair Specular Shader] we’ll need
three maps:
An RGBA color & alpha map, a normal map, and a specular
map.

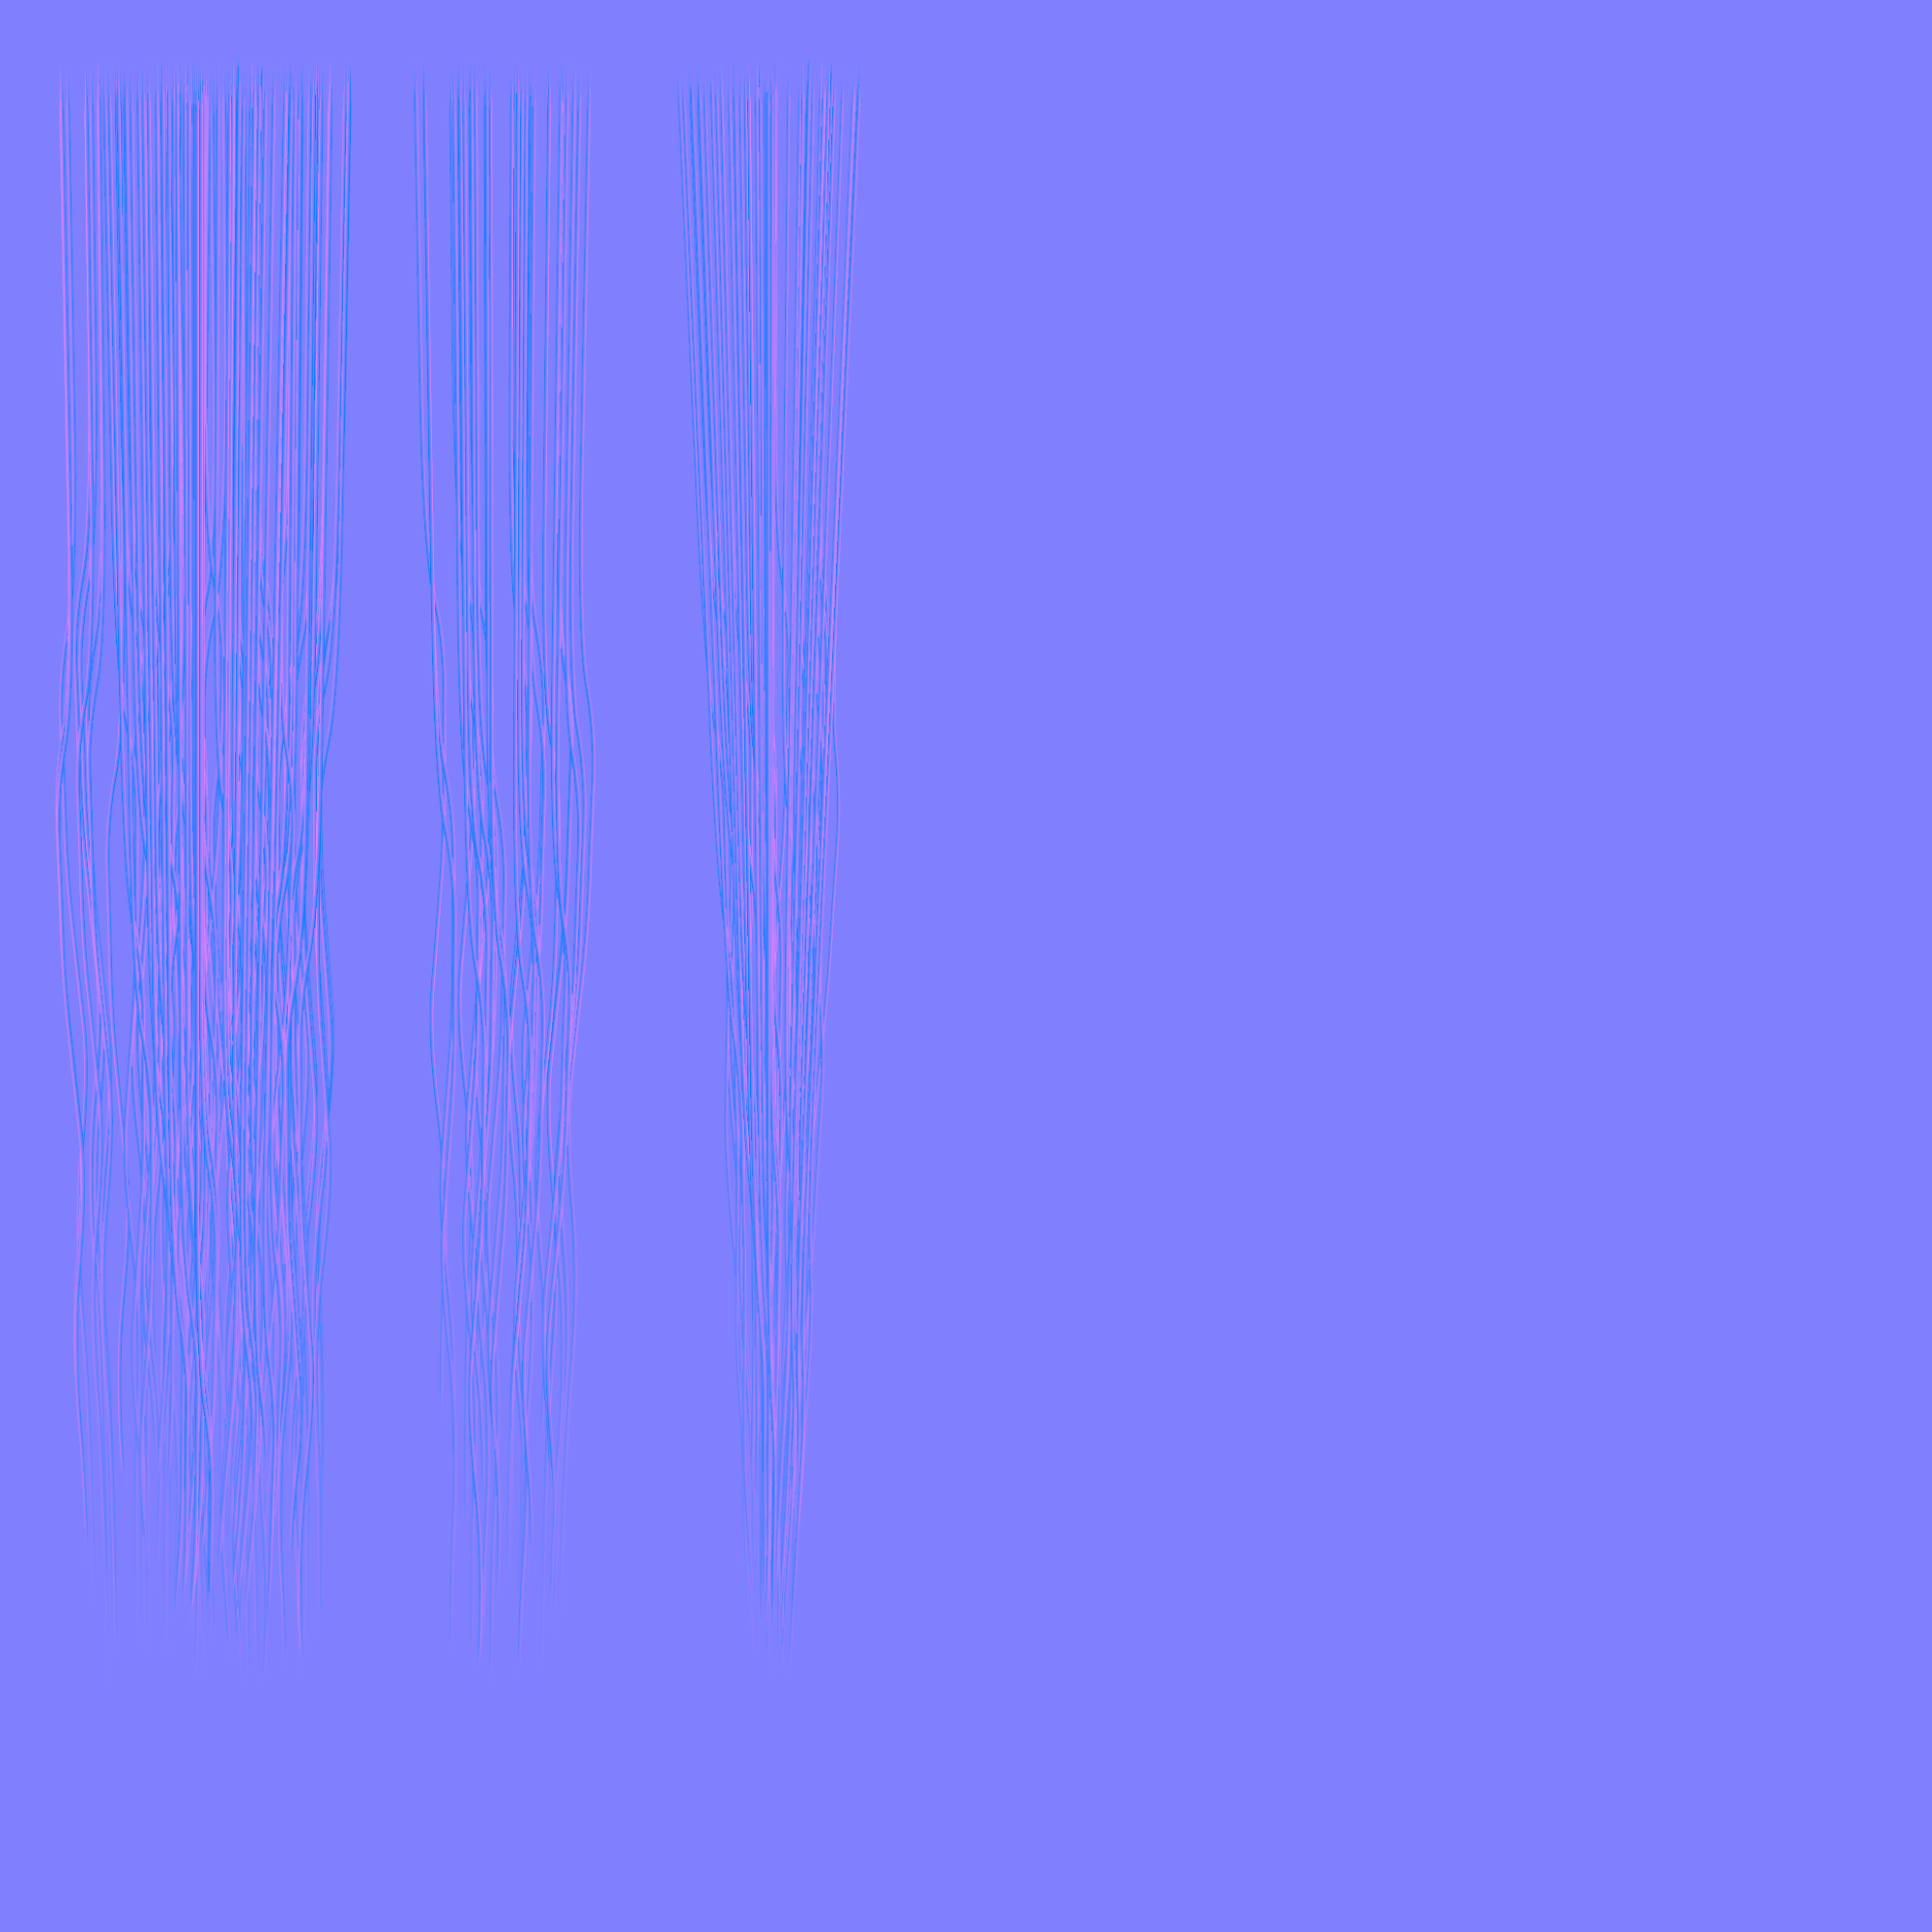

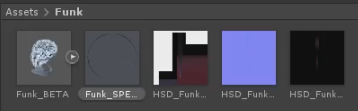
The software uses the alpha cutout method, so make sure you don’t have too much grey alpha areas, and the specular is quite heavy, so you’ll want to tone it down.
I’ve used the Depth mask with some gradient layered on top to get the Reflections map.
And I’ve baked in the Color one the Mask layer and the AO in Multiply mode.
When it encounters .5 pixels in alpha, Unity will pick the color under the Alpha mask of your map, so fill in with a gradient looking like your hair texture, just at 1% of transparency/opacity.
Take your maps in Unity, and assign them to your object.
Emission will drive the alpha color
on .5 pixels.
NormalsIntensity
will drive how geometrical your hairs look with the normal map.
Gloss
will shift how much your reflections are on the specularity side of things,
or pure reflection.
Cutoff will
be the clamp you’ll use to get on your alpha for the final look.
And you should now see it all in Unity.
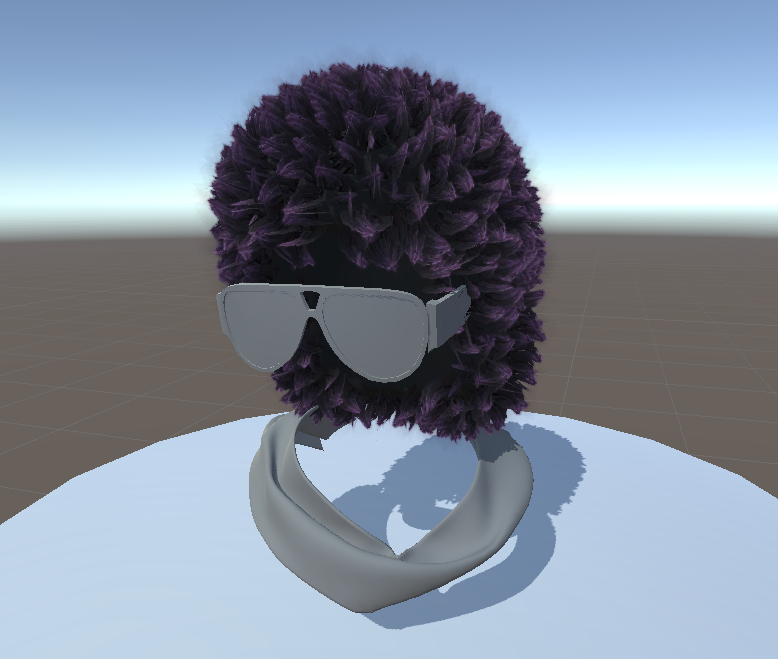
Some examples with shaders / bones / animation: