

During the production of McVitie’s ‘Sweeter Together’ ad campaign, we had to make clothing at Nexus Studios for an entire cast of 13 characters, all having their own morphology, height, style, and clothing challenges. We used Marvelous Designer 7, and then simmed the clothing in Carbon Cloth, a plugin for Houdini. Having pipelined and made all of the characters’ garments, I learned a lot of new shortcuts, behaviors, and issues during their creation.
MD is software that can and will evolve. I will try to update this article and expand on the subject in the future, but the following tips apply to Marvelous Designer 7 and previous versions.

Regular and _Unseamed file
If you export from Marvelous checking the Weld checkbox, it will weld every seam vertex, even if it means having multiple un-connected faces vertices weld. In our pipeline, we used Carbon Cloth to simulate our clothing, and the technique used was to weld buttons based on distance, as the vertices overlapped and had the exact coordinates but were not welded.
Every file needed to be prepared before being imported in Carbon Cloth. It was better to do an _unseamed file, in case we needed to remove shirt placket seams or button seams, and it’s better than doing it every time starting from the good file, or overwriting it, in case of retakes.

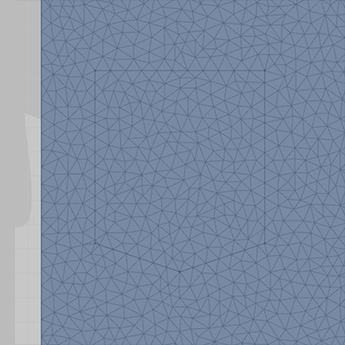
Linked Editing
There are a ton of ways to mirror, link and parent edits in Marvelous, and it's best to keep them as long as possible. A typical example encountered would be shirt pockets. But even at the lowest seam strength, Marvelous will always wrap the mesh around it. For pockets, buttons and asymmetric edits, it's better to remove everything in an other file, a simple copy of your main one.

Buttons
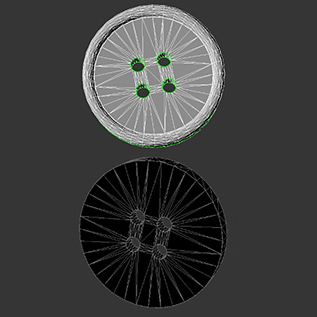
So far, the best method was to use Internal Ellipses, and weld them during pre-sim. Techniques with rhombus holes or I shapes are extremely messy, and don't do anything great outside of Marvelous. Then, in the _unseamed file, remove the sewing before export, so Marvelous won’t weld it/them.
[Buttons] Don’t use the Marvelous ones for final pieces. They have UVs, but the topology is really confusing and terrible on the backside. I’ve made new, corrected, UV-mapped ones based on MD designs for McVitie’s.

Particle Distance
We have mainly used a PD of 7 mm or 8 mm on most wrinkly clothes. The stiffer the fabric, the higher the PD. The softer/shrinkier cloth, the lower the particle distance could go. Beware that different merged clothing patterns with different PD values can cause issues in Carbon Cloth, though.

Internal lines and topology
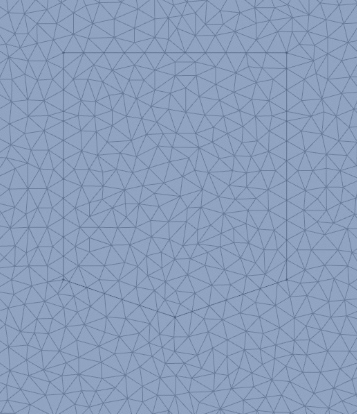
Internal lines will affect topology, regardless of the strength setting. It won’t cut and weld the polys like seams, but still take the shape of the Internal Line.
UV Layout
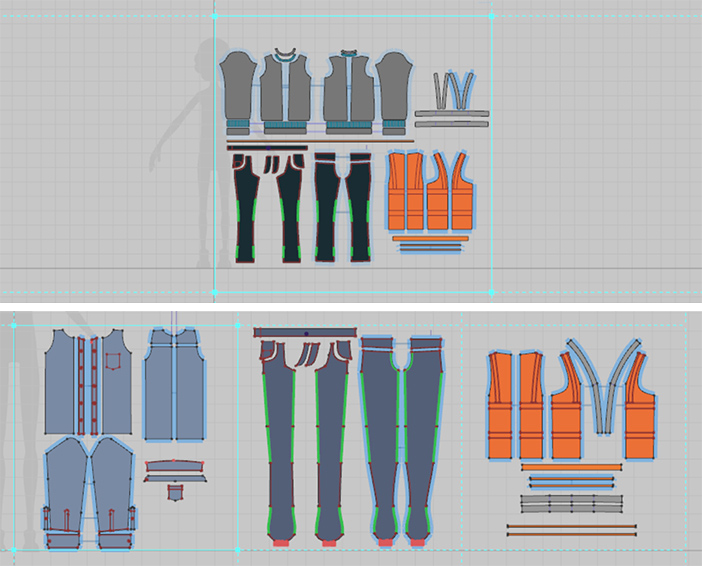
We did one piece of cloth per UV tile. For Houdini imports, texturing, and cleanliness, it seemed to be the best way.
Don’t overlap them, or put them too close to the borders -Substance Painter doesn't like it very much-, but fill as much the tiles as you can.
MORE TIPS:

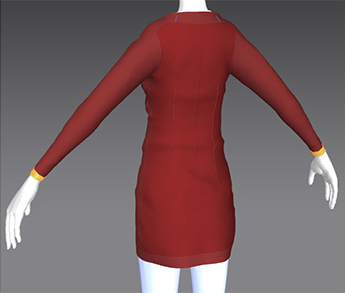
Hidden cloth should get the simplest topology
Doesn’t every rigger who skins a proxy want simpler topology?
If some parts are ‘the parts you don’t see’, go with simpler, flatter topologies and the big buckling ratio-wreft/wrap.

It’s weird, I have many lines on my cloth?
Your avatar is way too low. What you see are just the edges of your own model. Try to import a high-resolution version of it. It should fix the issue. Worse, the lines will remain in the exported mesh if you’re not careful enough.
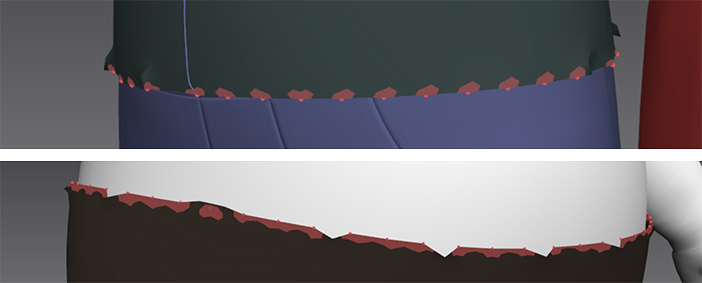
Do . Not . Pin
If you can, just don’t... don’t. Tack, it doesn’t affect topology, doesn’t make weird triangles and bumps when you go down/up the particle distance, and furthermore, when someone edits your model, it doesn’t make the edits hard/almost impossible to do without removing your carefully placed pins.
Pinning is an old, outdated technique which should just be used for mannequins, not look-dev characters or anything intended to move. Marvelous Designer 7 introduced pinning lines, which you should use instead.